A few months ago we had a hands-on project at the Loose Bead Society to make a right angle weave beaded bead using Swarovski bicone crystals (with the crystals donated by Swarovski!!). A number of us hadn't done that before, so we were each given a sheet of instructions in which the beads were numbered in the diagram. Well, all of the beads were the same color, and I got very confused. At one point I exclaimed, "Why aren't the beads numbered?!"
Fast forward to this week. I am trying to make a toggle bead to fit through a hole I have already made in a peyote-stitch bracelet. I thought I might try a beaded bead and found the Penta-Petal Bead project in the Mastering Beadwork book I have mentioned before.
Yup. You guessed it. The diagram has the beads numbered, and I got confused. I was okay until Figure 7, which is where the beads kind of stack up to create the dimension of a beaded bead. I ripped it out a few times then thought I should try it with bigger beads and embroidery floss so there would be less slippage. I still got lost.
The beads I used are white cylinders with a matte finish. The proverbial light bulb lit over my head, and I grabbed a Slick Writer pen. For those who don't know, Slick Writer pens are great for glossy surfaces such as pictures, vellum, and any other slippery or possibly slippery surfaces. They can be found in any respectable scrapbook or craft store with scrapbook supplies. Use a Slick Writer pen to write on the backs of your photographs instead of a ball point pen. There is no smearing, no indenting the paper so what you wrote is visible on the front of the picture, etc... I could talk for an hour on this. Make sure you get a fine point pen - there are different widths.
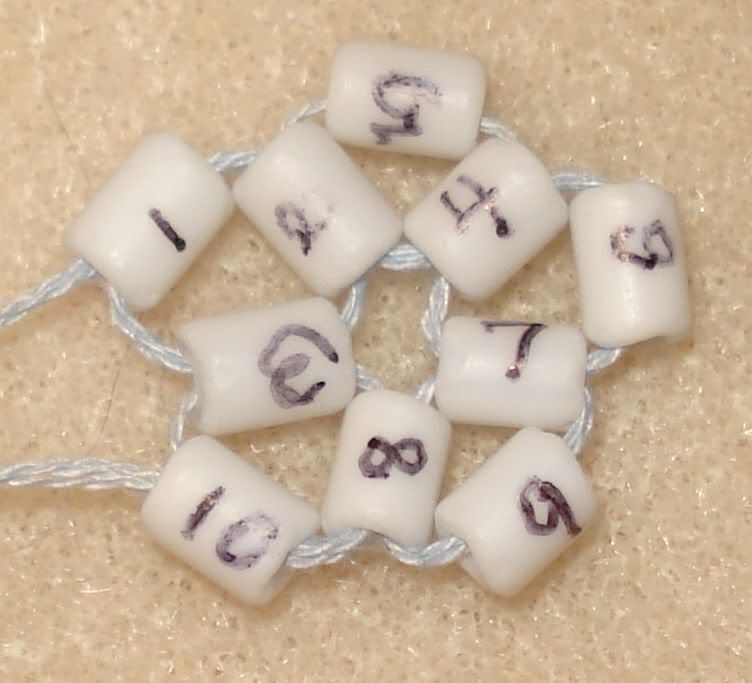
What was I talking about? Oh! Beads. Sorry - got off on a Slick Writer tangent. I do that from time to time. I grabbed my trusty fine point Slick Writer pen and numbered 10 beads. After the first round of triangles, this is what I had:
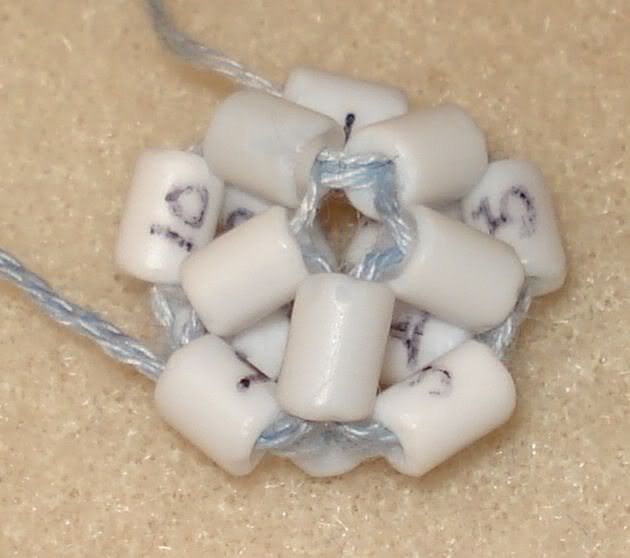
Not the best handwriting, but they're small curvy beads. Yes, there are triangles there - trust me. I really wish the diagrams in the book had numbers for all of the beads instead of just the first 10, but using my handy-dandy numbered beads, I was able to complete the second step:
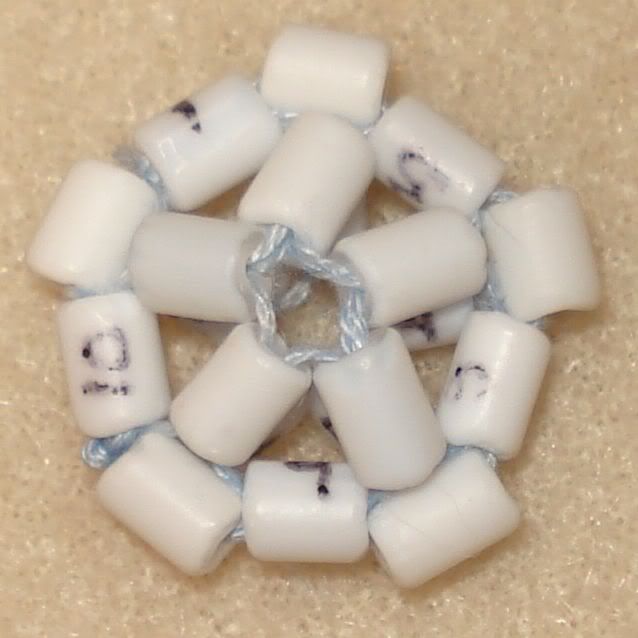
And finally, the last step:
I assume it's right. It does look like the picture. I may have to try this for all of the stitching projects that I get stuck on!
Now for making the beaded bead using the small 8 hex beads... Stay tuned!
Subscribe to:
Post Comments (Atom)


No comments:
Post a Comment