I have done a number of gift albums since I started scrapbooking. They have varied in size from very small to 12x12. As I "matured" in my scrapbooking I learned a few methods to make gift albums look better and take less time to create. (I say "matured" in quotes because I still giggle like a 10 year old whenever someone says "duty").
There are a number of different albums I would like to describe to you and show you examples from, but I'm not going to do it all at once - I don't want your heads to explode.
Today's album is one I did for a party for my Mom's best friend. She was very ill for a long time, and this party was a family reunion during a time when Donna was home. She has since passed, and I was glad I could make this album for her. She really enjoyed it and often looked through it.
First of all, I made sure that at the party I took a picture of everyone as well as taking some candid shots. Once I printed the pictures, I purchased a spiral-bound album from a scrapbook store so it would be durable. I ripped out all unused pages when I was finished.
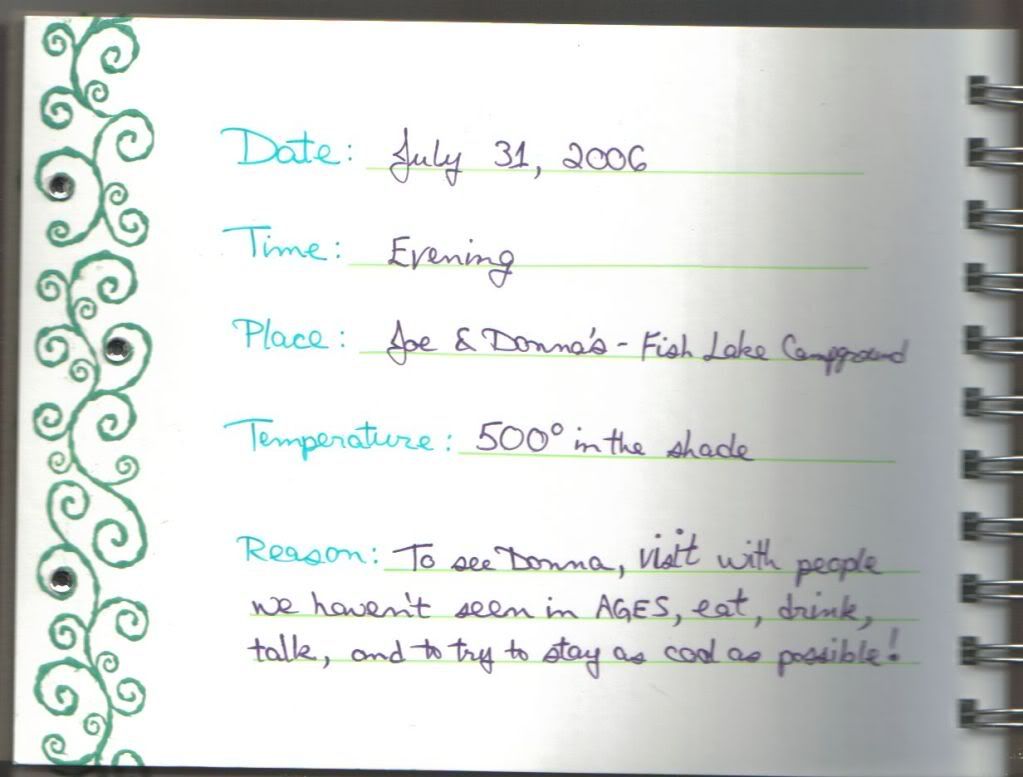
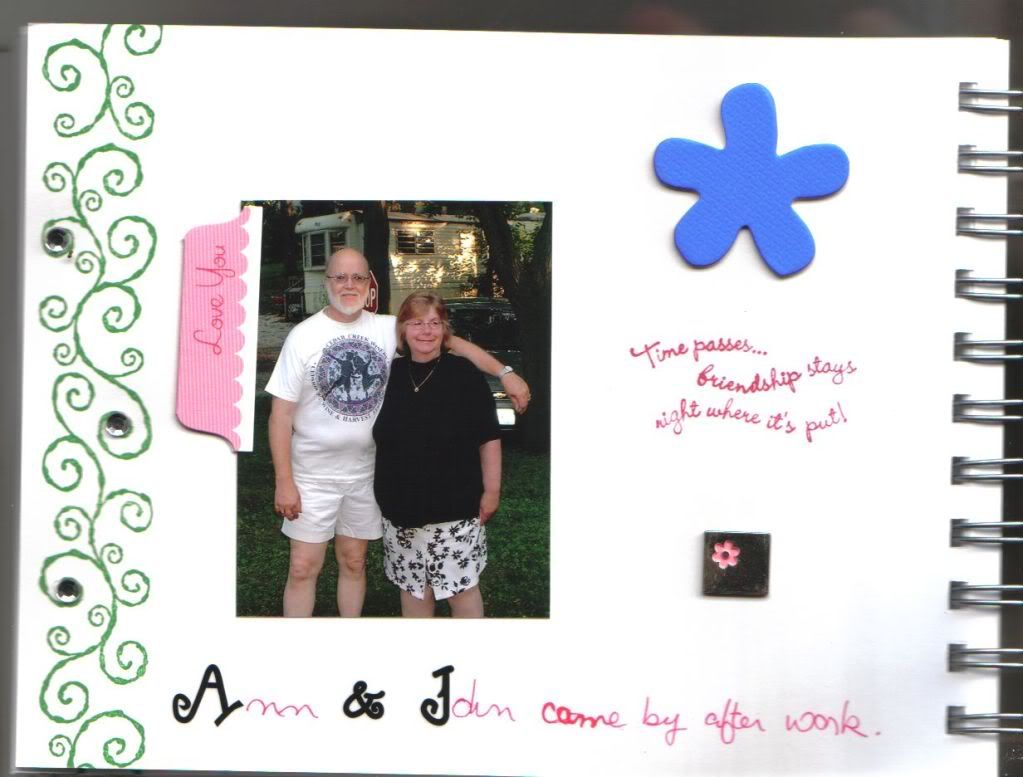
I used a wheel stamp for a green swirly border on the edge of each page. That was the only pattern throughout the book. I then adhered the pictures and used other stamps, one style of letter stickers in different colors, summery embellishments, and my own handwriting to finish the album. I also put little bling crystals on the border in random places to give the book some extra zing.
I scanned the pages of the book before I gave it away, so I'm sorry the quality of these pictures isn't the best. The spiral binding got in the way. Since I unfortunately am not in touch with anyone anymore and can't ask permission to post their pictures, I will only be showing two pages - the introduction and one with my mother and step-father.
These pages give a pretty fair representation of how the whole book looks. I used bright colors and embellishments - it was a summery party, after all. I was pleased with how quickly the album went together and how well it was received by everyone. Donna crocheted my baby blanket, sewed my tap dance costumes, and helped Mom raise me along with her own daughters. I was glad to give just a fraction of that love back to her. Okay - enough of that. I'm about to tear up over here. I love you, Donna!
For you non-scrapbookers out there... you can do this without all of the fancy embellishments and stamps. You can doodle around the pictures and on the edges of each of the pages. (Doodling is huge in scrapbooking.) The most important thing is to get the pictures down and to note who everyone is and what happened at the event. Use your own handwriting - that gives the album a very personal touch, and your recipient will always think of you when flipping through your thoughtful gift!