I was at a friend's house on Monday, and after I started the 6 bead long toggle the book suggested, she thought it would be too small for the hole and would easily fall out. She suggested 8 beads, but I ended up with one 9 beads long. Here's where my Mom says, "But you got a Math minor in college! How can you not count, add, or subtract?" Here's where I say, "It's not Linear Algebra! Now please could you add my dice together so I can fill out my Yahtzee scorecard?"
It was a good toggle - nice and tight. After sewing it on, we determined it wouldn't fit in the hole. I had to take it apart because I didn't have enough purple beads for another attempt. While dinner was cooking that night, I frantically ripped apart the 9 bead toggle and made an 8 bead one. I wanted to get it done so I could wear it to the Loose Bead Society board meeting that night. Here's the bracelet and the 8 bead attempt:

Believe me, the beads are purple. Very subtle, but still purple.
It's getting close to the time when I need to leave for the meeting. Does the toggle fit? No! Do I have any beads or buttons that will fit and would look nice? No, of course not! Oh, well. The ladies will see the bracelet another time.
That's when I got the bright idea to bead a bead, leading to yesterday's discussion of the Penta-Petal bead.
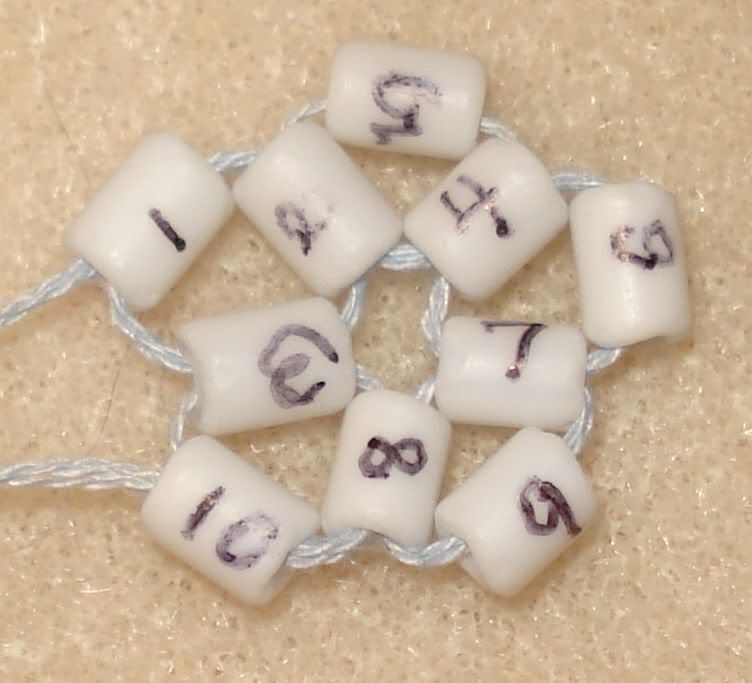
Tonight I took another shot at it, this time with the clear beads used in the rest of the bracelet. Since I did the whole numbered bead thing, I was able to do it in one attempt! Say, that worked pretty well... I'm going to have to try that right angle weave beaded bead again!
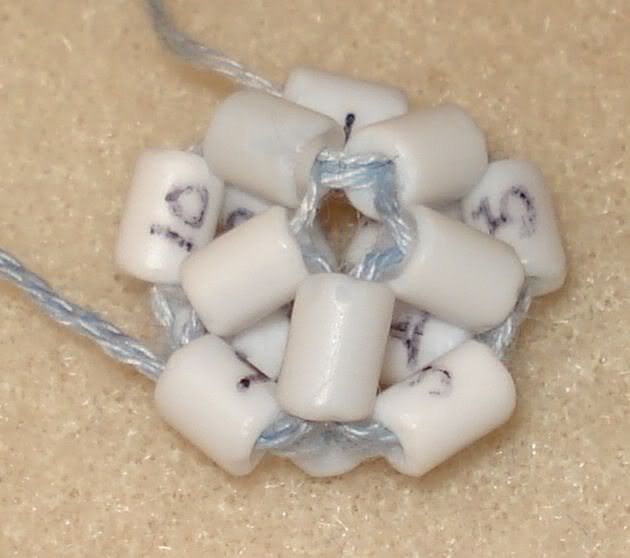
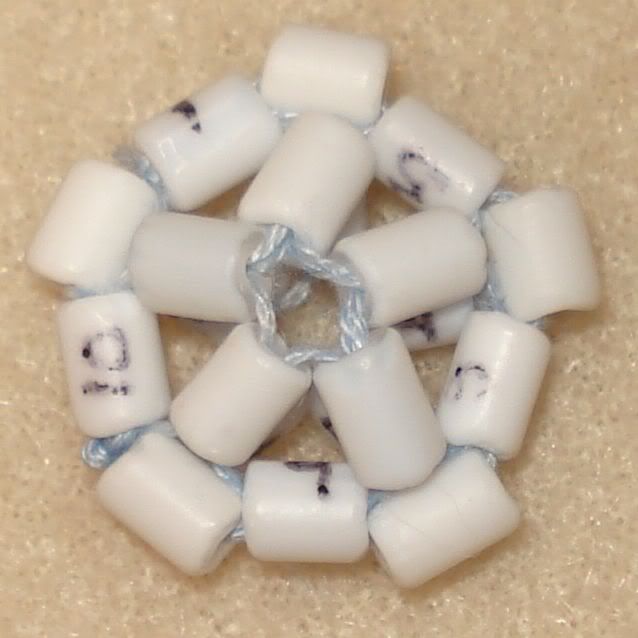
Here is the bead after steps 1 and 2, with the numbered one so you can see the size comparison:

I should have put a penny or something in there so you get a real size comparison. And, yes, I know I need to get some clear Fireline. Since the bracelet was pretty plain, Steve had suggested I add an embellishment to the top to liven it up. I thought, "Why not have the toggle be that embellishment?" I added some petal beads between the circumference beads (numbered 1, 5, 6, 7, and 10 above) but thought that looked too plain. I then added more petal beads in the blank spaces and a purple bead for the center of the flower:

I flipped 'er over and added some beads to make a quasi-shank:

This didn't work quite as I had hoped because of the hex shape to the beads - the shank is a bit Pisa-Towerish. Steve then asked the $64,000 question: "Will the bead fit through the hole?" I did try it with only 5 petals, and I assumed it would work with 10. I wiggled, shimmied, and twisted. Then I wiggled, shimmied, and twisted the bead until it went through the hole. It wasn't sewn onto the bracelet yet. I decided to try, and if it didn't work, I would remove it and sew it onto the top of the bracelet and make another bead for the toggle.

So far so good! Now let's try it on:

Whew! That time it was easier. I bent the petals up and worked it through. The good thing about this is that this bracelet will not accidentally come undone and get lost. Of course, will I be able to take it off?
I'm not 100% positive I like it. I think it's because the petals move around a lot. Steve says that it's organic, and some of my Loose Bead Society friends know I have difficulties with things that are organic. The vast majority of my career has been pretty technical (as computer programmers are supposed to be), and I like symmetry and orderliness. It takes quite a bit for me to "bead outside the box". The Spring bracelet I posted about a few days ago was one of those I had to look at again and again before I decided I liked it. Perhaps this will grow on me, too.
If I'm not able to get it off, it probably will grow on me!