Thursday, April 29, 2010

Another tangent - what IS it about cats?

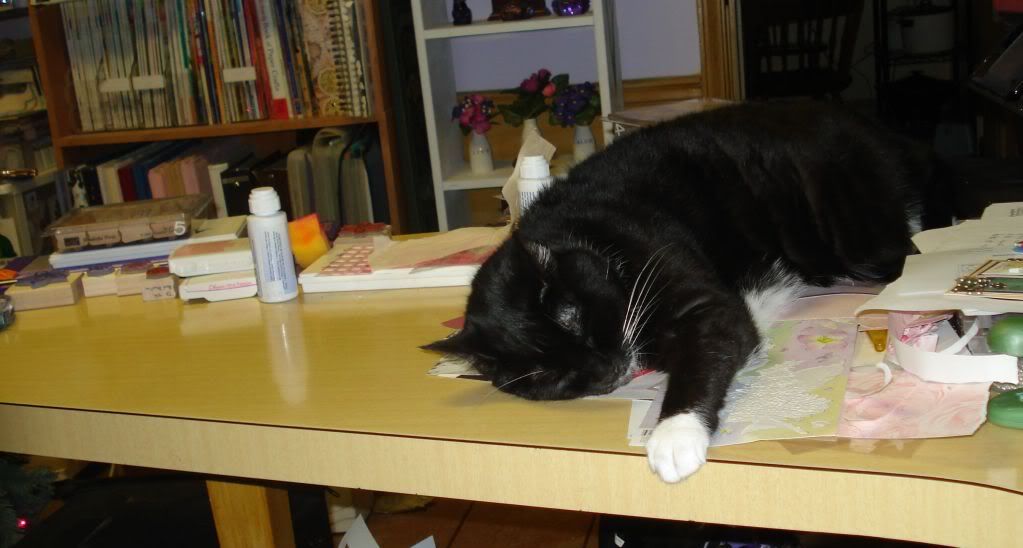
They have to be right in the thick of things, always.  I'm in the middle of a project, and Simoon just has to be on top of it.  Even when there's more than enough empty desk space, she decides to relax by balancing on papers, pens, and ink pads while pushing other things off of the desk.  She's pushed a tasty Parmesan crusted stuffed chicken recipe off of my desk twice this week!  (If you make this recipe, I would put the chicken under the broiler for a few minutes to brown the parmesan some.)  Right before the following picture was taken, she knocked off a set of rubber stamps.  She looks pretty comfy, eh?


Look at that huge cat-sized open space on the desk!

Speaking of tasty new chicken recipes from the Kraft Foods website, we tried the Chicken in Creamy Pan Sauce tonight.  Next time, we're doubling the sauce and serving it with egg noodles.  Very tasty!

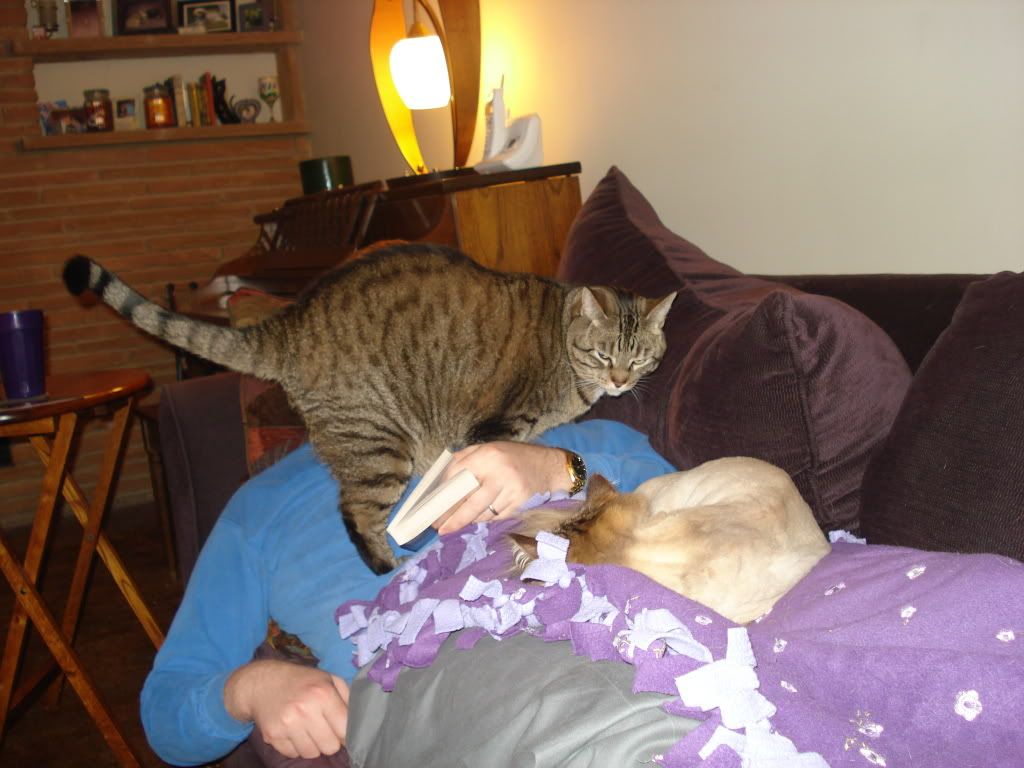
It's not just when I'm crafting that the cats are pests.  Earlier this week we had our oldest cat, Miss Katy, groomed.  Her long fur was turning into huge clumps of felt again.  Steve could not leave the couch that night - she was on him like white on rice.  He made the best of it by reading.... until:


Pixel makes a better door than a window.  At least he settled down:


Look at our poor Katy!  I hate that they gave her a lion cut.  I know it's best for her, but she looks so sad!  Steve noted today that Katy has "Flashdance" legwarmers, and he made her do the "Maniac" dance.  She was not amused.

Surprisingly, Fe (our youngest kitty) hasn't been a pest lately... Oh, wait, that's right.  She knocked over a basket in the kitchen which nearly landed Steve's iPod in the cats' water.

Now I know there are tons of crafters out there with cats... what antics have they been up to?  Leave me comments, please!  (I'll be happy with dog stories, too!)

Monday, April 26, 2010

Easier mini gift albums - Part 3

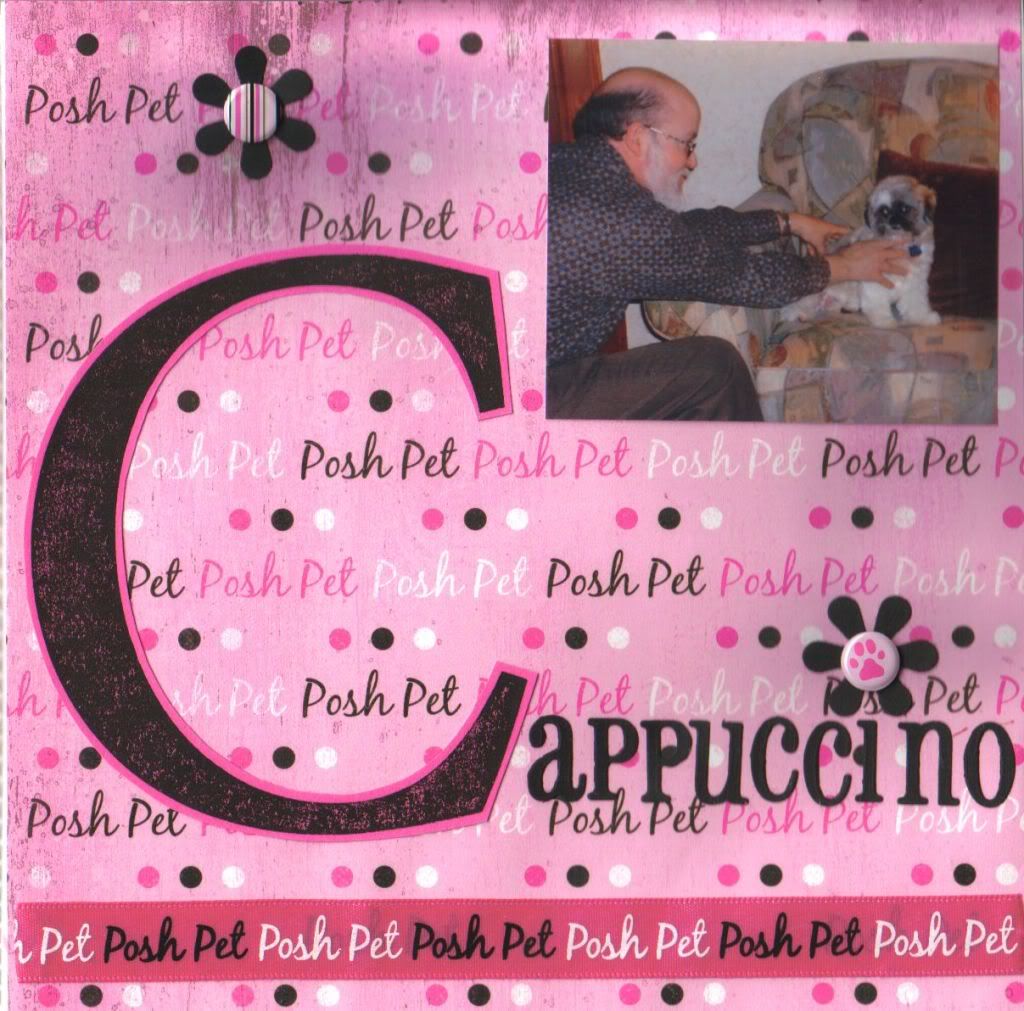
Here's the last of the mini gift album series (for a while).  The tips for this 8x8 album are the same as the last one, but the papers are so cute (as is the subject matter!), I just had to share.  I made this album for my mother, and it's all about her dog, Cappuccino.  I used papers, embellishments, and ribbon from the same set and supplemented with some cardstock.  The title letters were done with the Blossom QuicKutz font, and I used a number of cut-out flowers with brads as the centers.

Here is the title page:


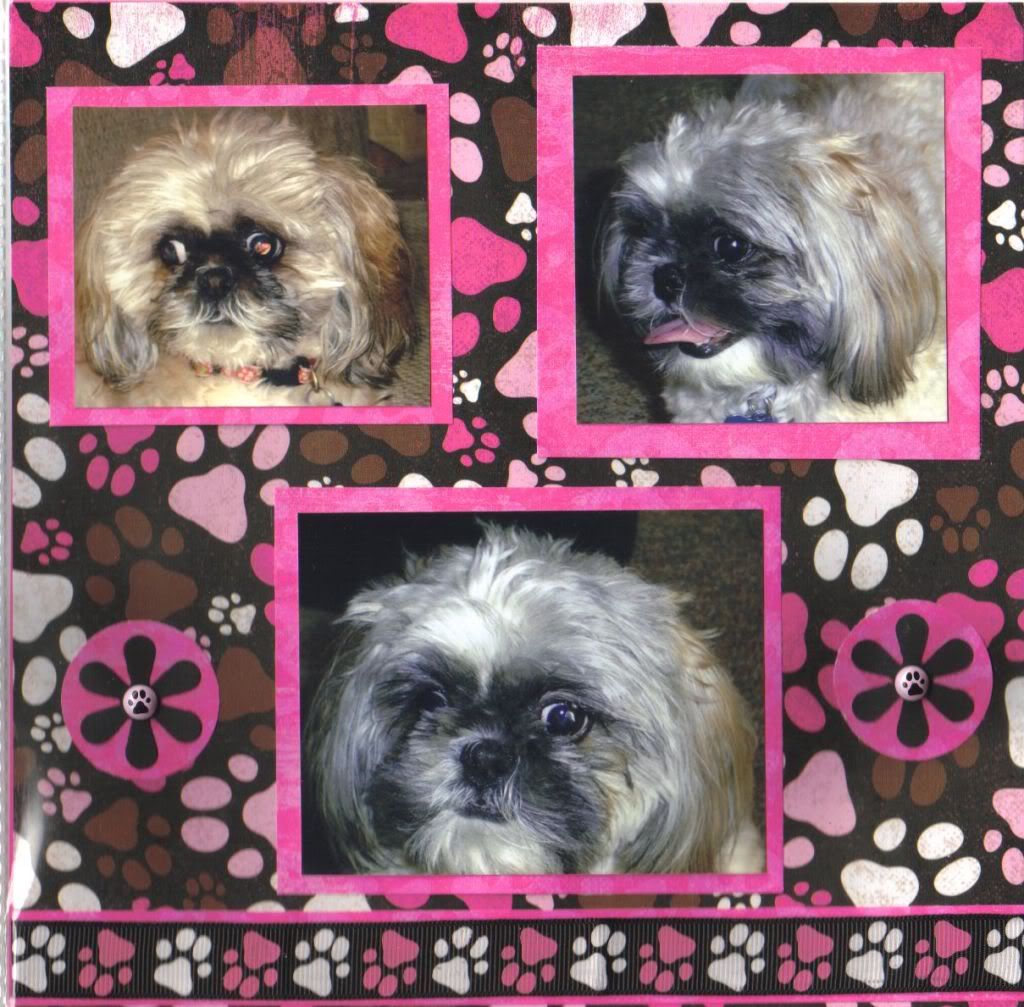
This next page is with some close ups of the pup:


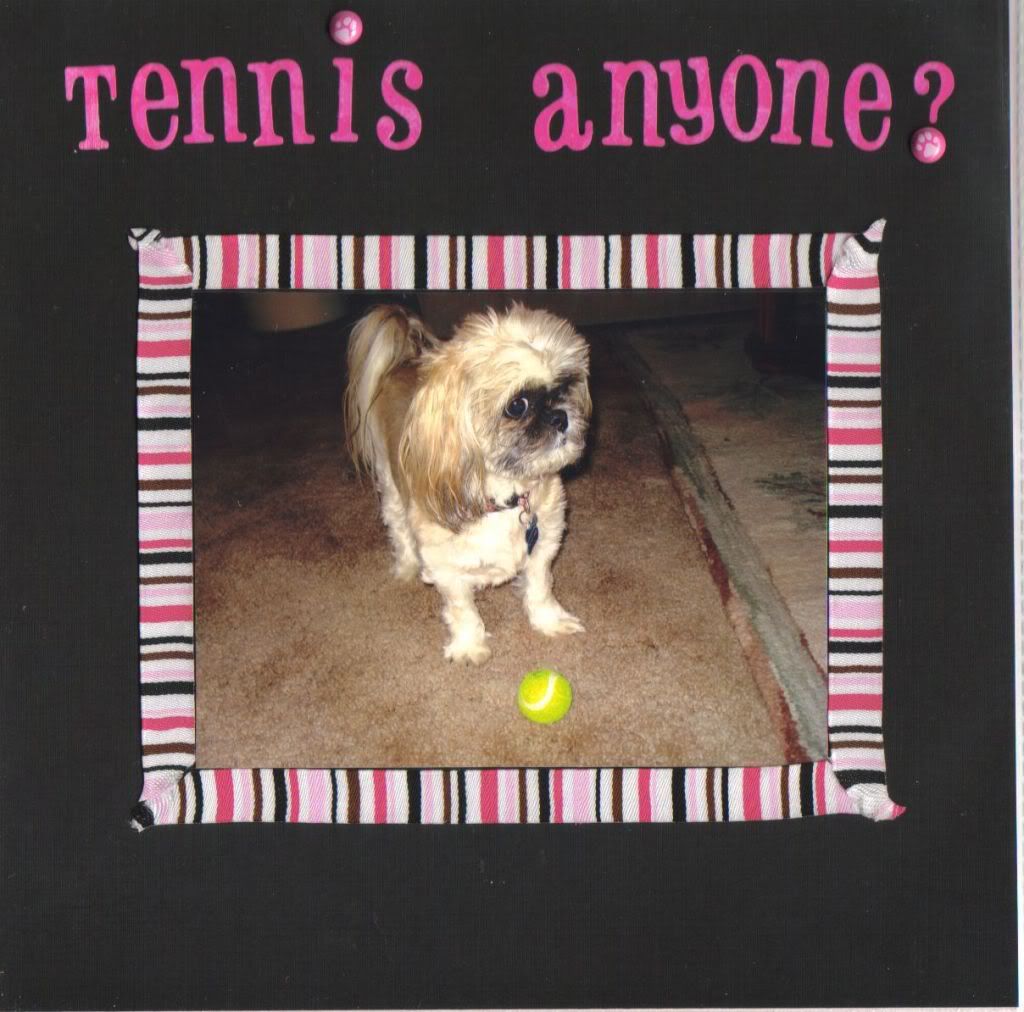
I used some of the ribbon to frame a picture of one of Cappuccino's favorite activities, playing with a tennis ball:


This last page is to show you some doodling that I did as frames around the pictures and the sticker:


 Oh, okay... since you've asked so nicely, here's one more, just because it's so cute and miraculous:


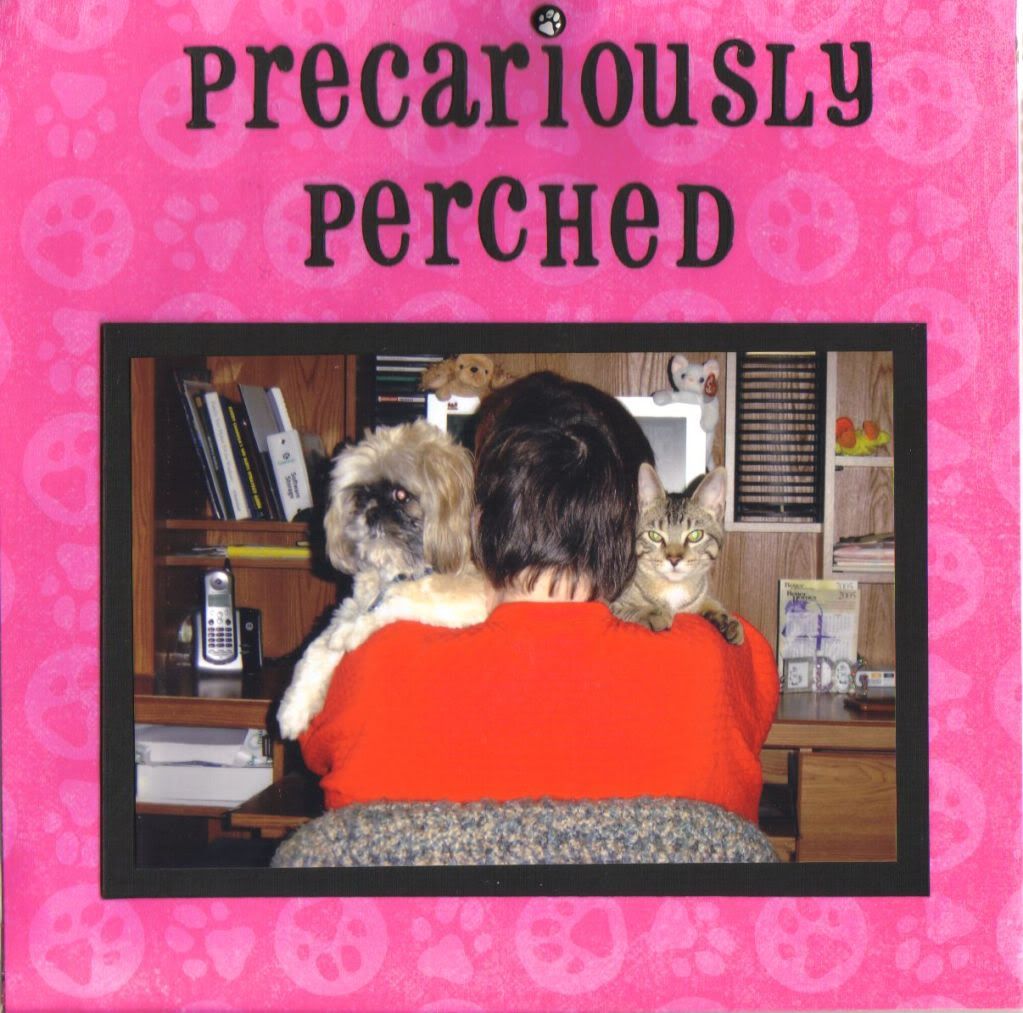
This is my Mom cuddling both Cappuccino and my cat, Pixel, back when he was still little enough to cuddle.

Guess I should work on making more gift albums so I have more to show you!

Saturday, April 24, 2010

Easier mini gift albums - Part 2

Today's mini gift album example is an 8x8 album I made for my stepfather for Father's Day.  He has always been wonderful for me and has always gone above and beyond for me, my friends, and my pets.  I used a paper pack called "Butcher's Block" in blues and beiges.  I used solid beige and green cardstock that looked good with the pack.  For titles I used letters (positive and negative) from the pack as well as letters cut using the Marissa mini font from QuicKutz.

Using one set of papers and one font really helped the album go together quickly and look great (if I do say so myself).

As promised, here are some examples:

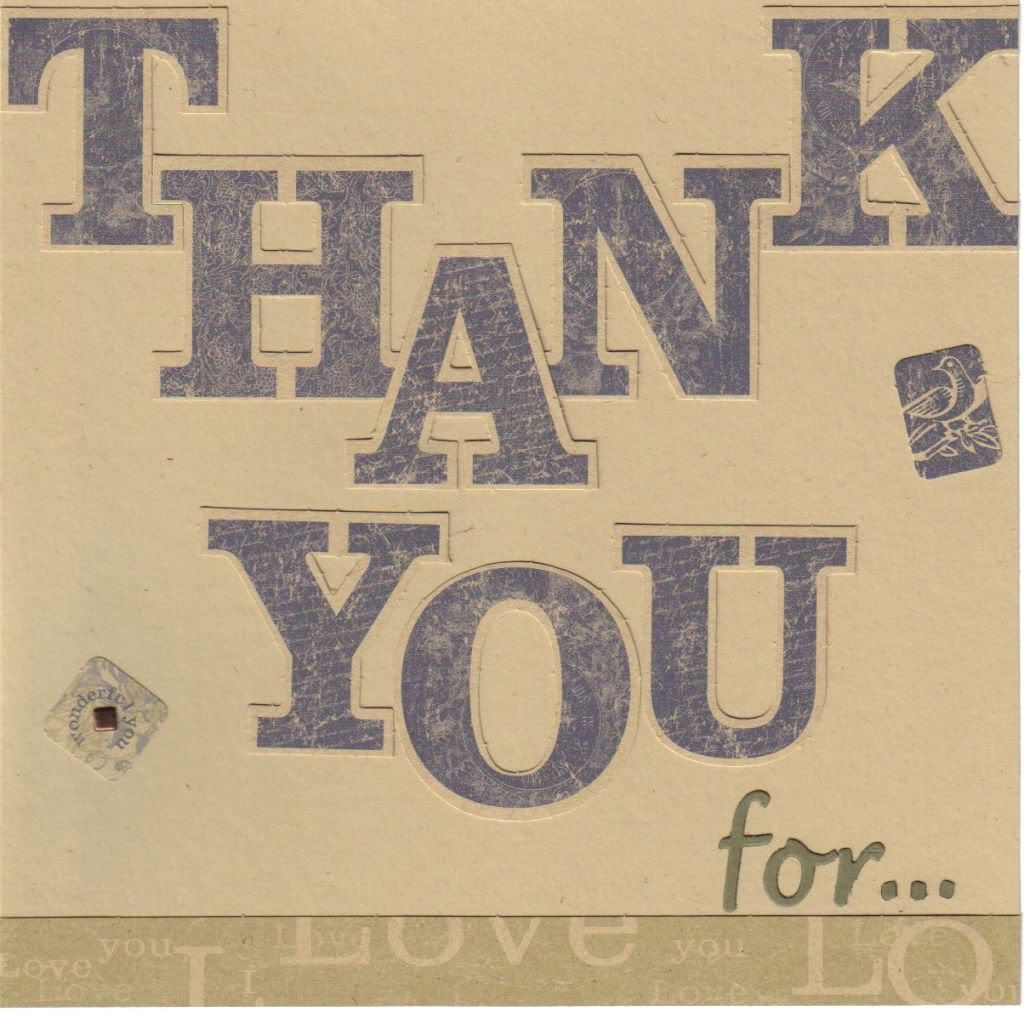
Title page:


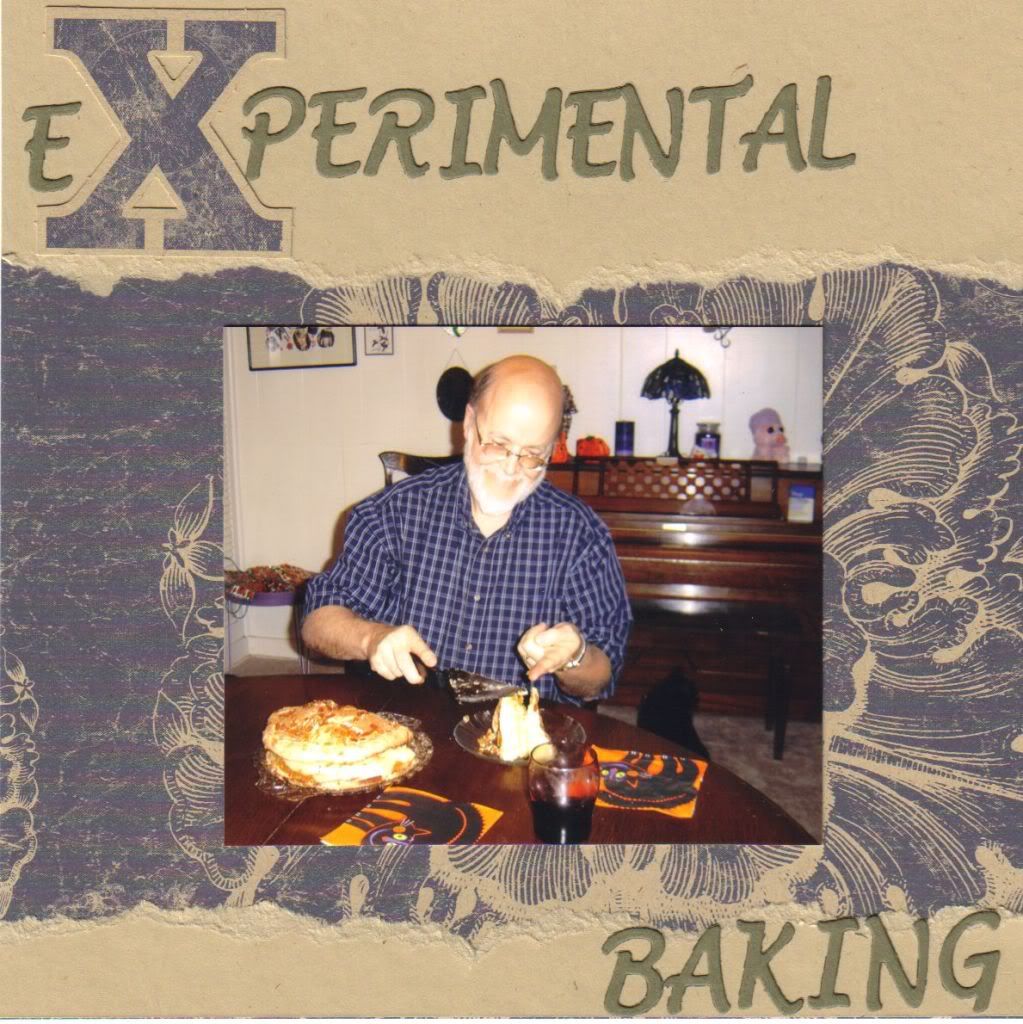
The next page shows what you can do with those infrequently used letters.  It uses them up and also gives a playful feel to the page:


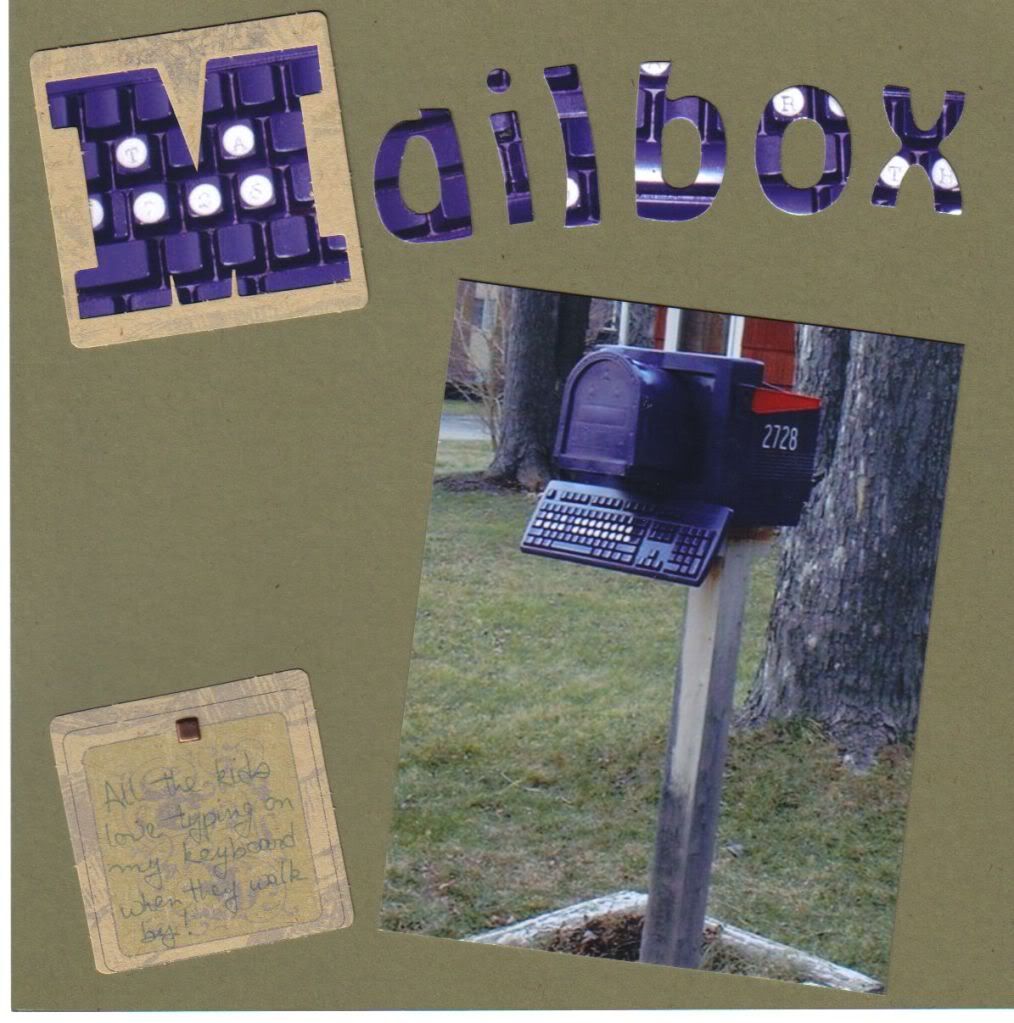
John made me a mailbox using old computer parts, and he painted it my favorite color.  Ingenious!  I wanted to showcase that more by cutting letters out of a close-up photo, framing one with a negative of one of the bigger letters:


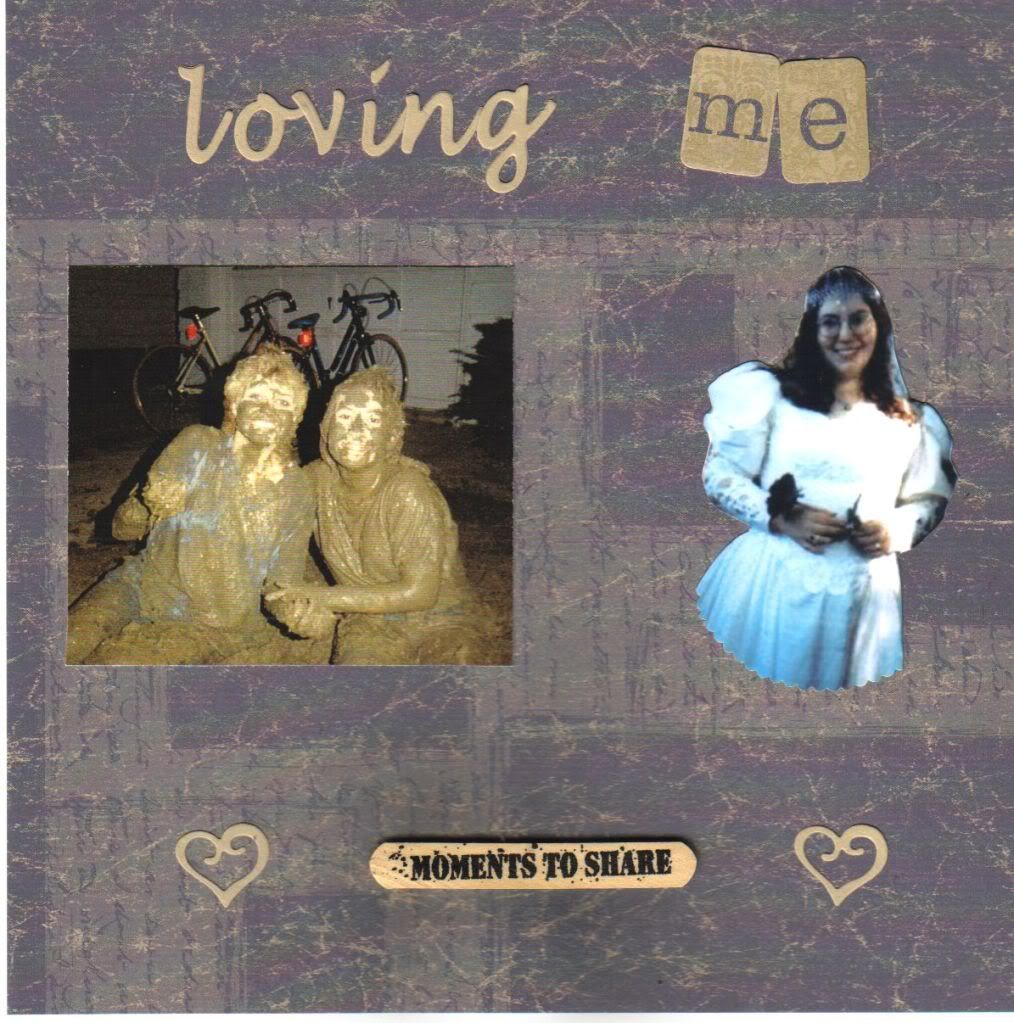
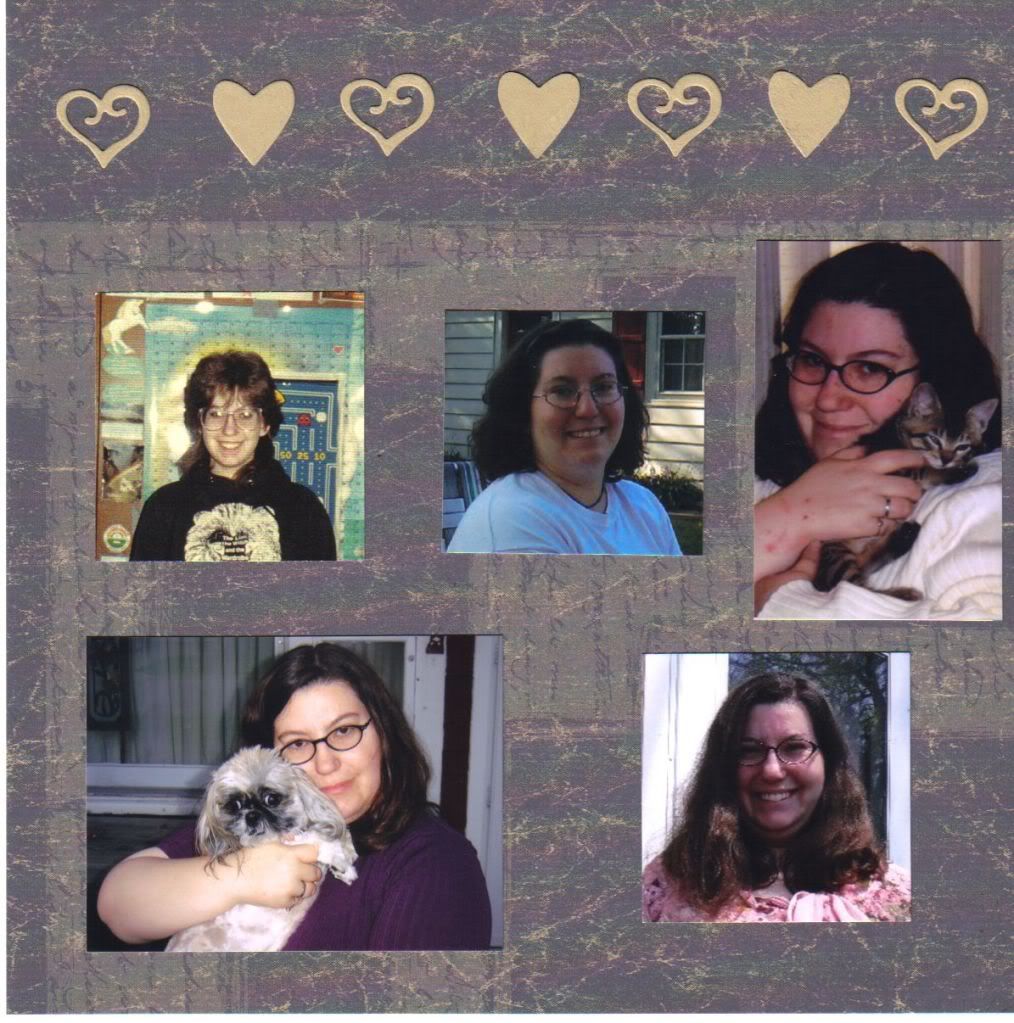
Since I've posted pictures of my Mom and John, I think it's only fair to post some of me...


Wednesday, April 21, 2010

Easier mini gift albums - Part 1

I have done a number of gift albums since I started scrapbooking.  They have varied in size from very small to 12x12.  As I "matured" in my scrapbooking I learned a few methods to make gift albums look better and take less time to create.  (I say "matured" in quotes because I still giggle like a 10 year old whenever someone says "duty").

There are a number of different albums I would like to describe to you and show you examples from, but I'm not going to do it all at once - I don't want your heads to explode.

Today's album is one I did for a party for my Mom's best friend.  She was very ill for a long time, and this party was a family reunion during a time when Donna was home.  She has since passed, and I was glad I could make this album for her.  She really enjoyed it and often looked through it.

First of all, I made sure that at the party I took a picture of everyone as well as taking some candid shots.  Once I printed the pictures, I purchased a spiral-bound album from a scrapbook store so it would be durable.  I ripped out all unused pages when I was finished.

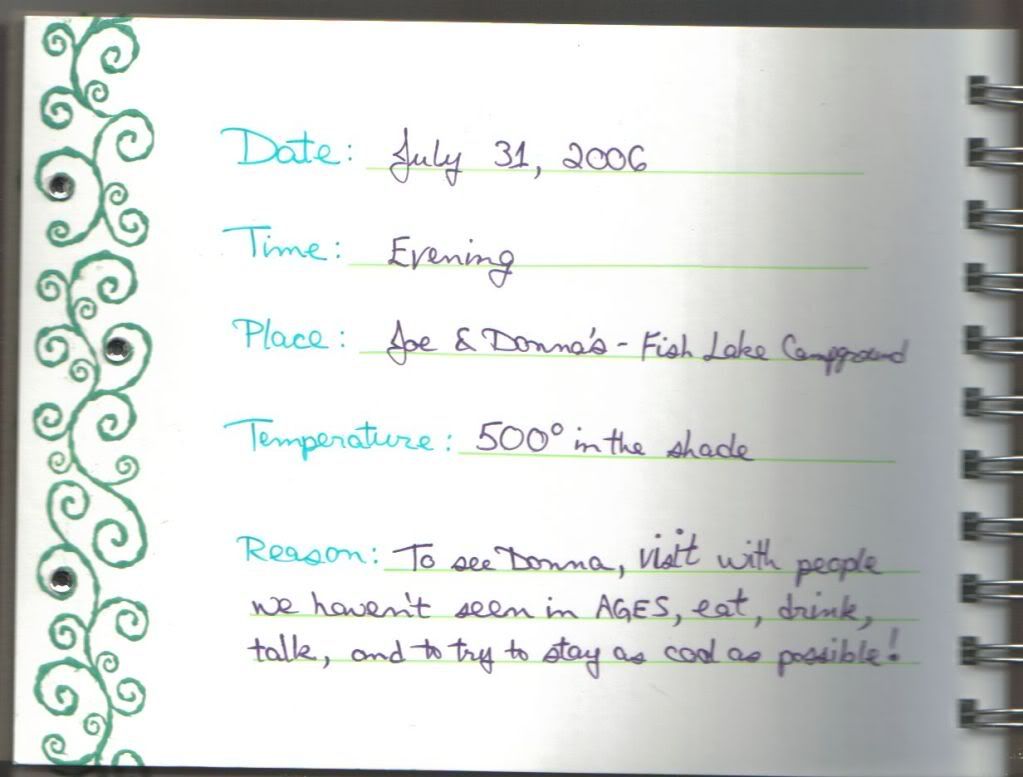
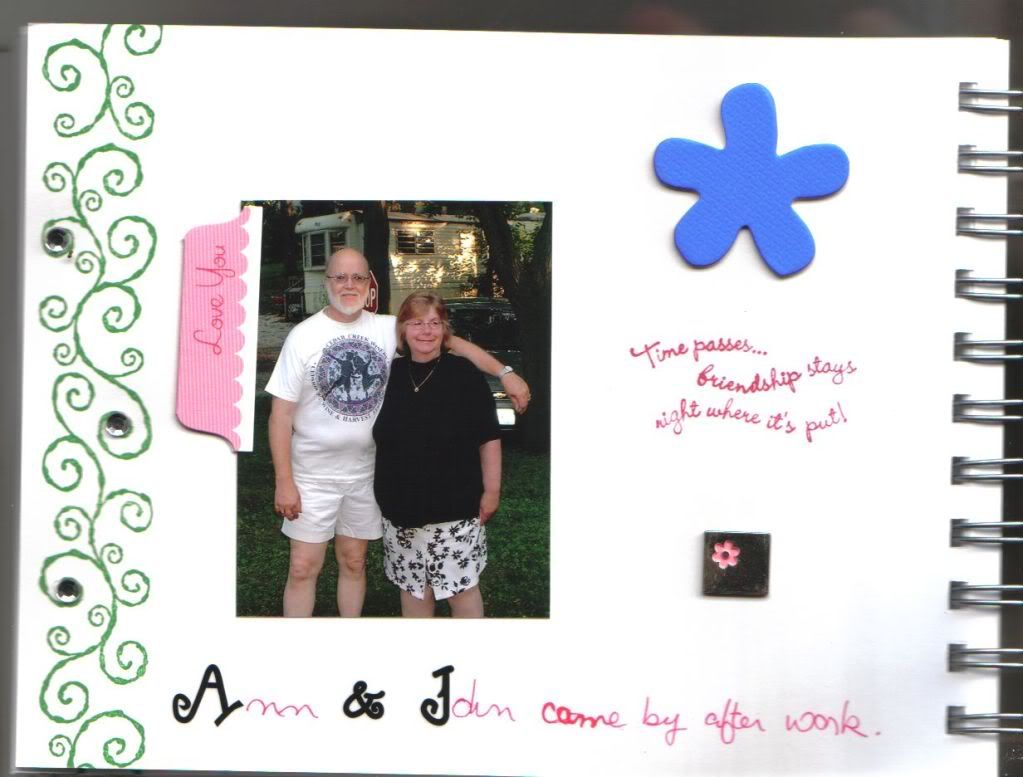
I used a wheel stamp for a green swirly border on the edge of each page.  That was the only pattern throughout the book.  I then adhered the pictures and used other stamps, one style of letter stickers in different colors, summery embellishments, and my own handwriting to finish the album.  I also put little bling crystals on the border in random places to give the book some extra zing.

I scanned the pages of the book before I gave it away, so I'm sorry the quality of these pictures isn't the best.  The spiral binding got in the way.  Since I unfortunately am not in touch with anyone anymore and can't ask permission to post their pictures, I will only be showing two pages - the introduction and one with my mother and step-father.


These pages give a pretty fair representation of how the whole book looks.  I used bright colors and embellishments - it was a summery party, after all.  I was pleased with how quickly the album went together and how well it was received by everyone.  Donna crocheted my baby blanket, sewed my tap dance costumes, and helped Mom raise me along with her own daughters.  I was glad to give just a fraction of that love back to her.  Okay - enough of that.  I'm about to tear up over here.  I love you, Donna!

For you non-scrapbookers out there... you can do this without all of the fancy embellishments and stamps.  You can doodle around the pictures and on the edges of each of the pages.  (Doodling is huge in scrapbooking.)  The most important thing is to get the pictures down and to note who everyone is and what happened at the event.  Use your own handwriting - that gives the album a very personal touch, and your recipient will always think of you when flipping through your thoughtful gift!

Friday, April 16, 2010

What I have been pondering lately...

I was talking to a new friend last week about how she transitioned to a career in jewelry making, designing, and teaching.  I have done this a few times to give me some ideas on what I could do with my career - how can find something that I love where I can also be creative?  She gave me a lot of good things to think about, and she mentioned that it would be great if I could mix my technical knowledge with my creativity.

We also talked about her website - how out of date it was and how someone had hacked into it and put links to, uh, non-jewelry related pages (we'll leave it at that).  I offered to look at the source for her, and later that day something clicked in my head - there must be a number of creative people just like her who don't have the time and/or the expertise to build a website and keep it updated!

I thought a lot about it and have talked to pretty much everyone.  If I haven't talked to you about it, don't worry - I'm sure you're on my list!  :)  I have researched and researched and researched some more.  The more I think about it, the more I really want to do this.  I have a name for my business already - Creative Pursuits Web Design - and I'm taking a class next week that will tell me everything I need to know to get things started.

Why am I limiting myself to creative folks?  I understand them because I am one!  I will be able to take each client's personality and make a page that reflects their creativity and their craft.

I know I'll still need to get another job so I have steady money coming in, but I will really enjoy the day when I can work on websites all day!

Tuesday, April 13, 2010

Faux Resin

I've been interested in resin projects for quite a while, especially the ones where a bezel is filled with "stuff".  I have a few gold-tone blank bezels I recently received in a goody bag, and since I don't like gold very much, I thought this was a wonderful opportunity to experiment!  I don't have resin but I do have Diamond Glaze (DG), a scrapbooking product that can also be used for projects like this.

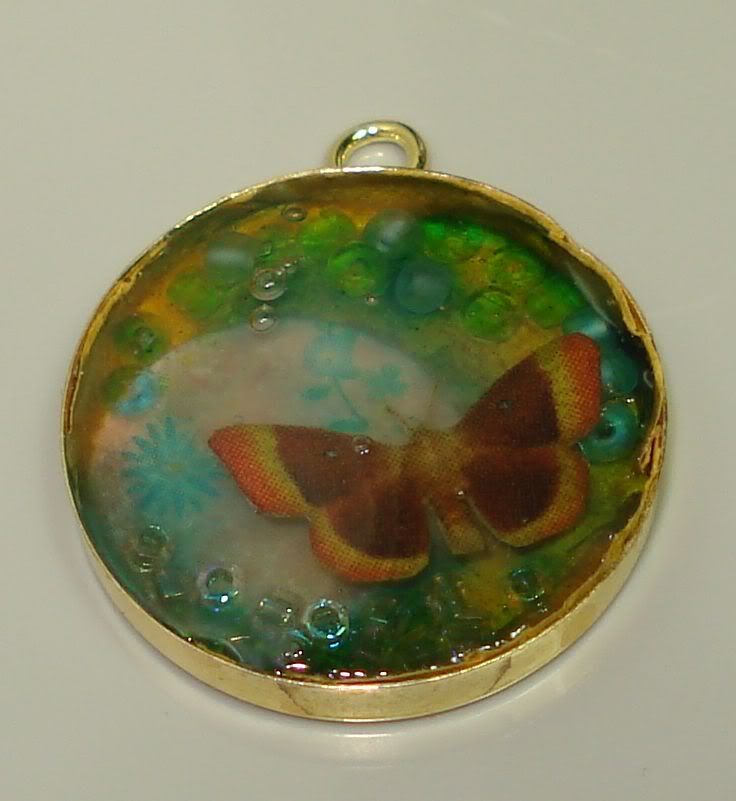
After lining the entire inside of the bezel with a thin coat of DG, I put in a piece of gold paper to fill the bottom and sides.  I then placed a small circle of pink patterned Japanese paper and poured DG about halfway.  To simulate grass and sky, I put some green beads at the bottom and blue beads at the top.  When that was dry I placed a little butterfly I cut out from a patterned piece of paper and filled the rest of the bezel with the DG.  At some point I had to add more DG due to settling.

From what I've heard and read about this process, you need to have an open mind.  The results will not always be what you expect.  I gave you the full description because something unexpected definitely happened:  Most of the blue beads seemed to have disintegrated.  It gave a very interesting effect:


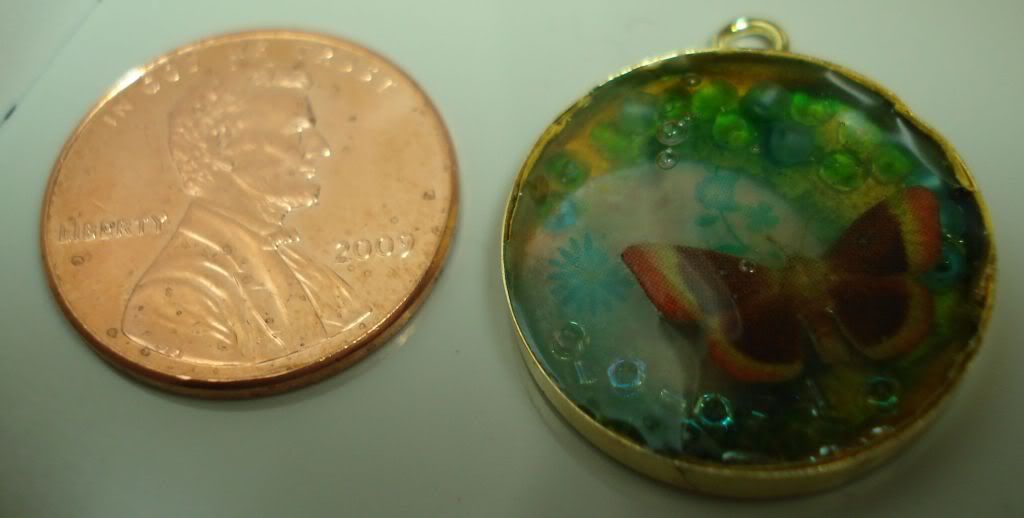
It's really hard to take a picture of this kind of project, even under an Ott light.  I hope you can see that the entire piece is infused with blue.  Most of the little circles at the top are former beads.  To give you an idea of the size, this time I brought a penny:


I think it turned out well, even with the disintegrating beads and the few air bubbles.  The butterfly is right where I want it, floating above the grass and flowers.  I may have to make a necklace to go with this!

Sunday, April 11, 2010

Experimental scrapping

This is a project I created last November, not too long after I got my Gypsy.  I did post about this on the Cricut message board (http://www.cricut.com/messageboard/tm.aspx?m=5728235&mpage=1&key=&#5728235), but I want to include it here as an example of non-traditional scrapbooking.

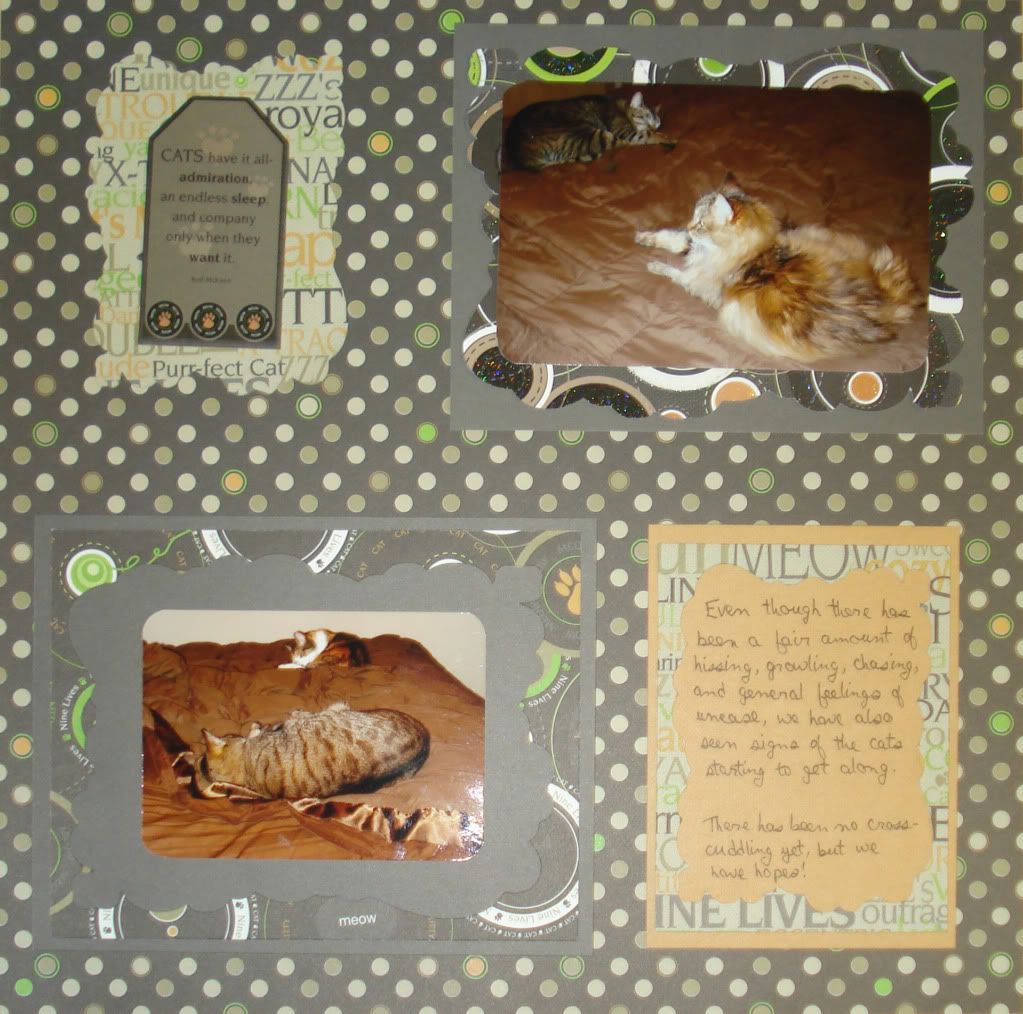
Steve and I have 4 cats (we each had two cats when we met), and we were able to catch glimpses of them starting to get along - my Pixel with his Fe, his Katy with my Pixel, my Simoon with his Fe.  (Pixel and Fe are the youngest and the most easy-going).  For the end of our "First year of marriage album", I wanted to show these pictures and created a double 12x12 layout, using a coordinated set of cat papers from Cloud9Design.

I have difficulties mixing patterned papers.  I even bought Ali Edwards's book, A Designer's Eye 2, which helps you work with patterned papers, but I still have problems, even with papers like these that are MADE to go together.  There are small dots, circles of different sizes, words all jumbled together, etc.  That doesn't even take COLOR into account!  The saving grace with this set of papers is that they are double-sided with solids on the back.  I have used them before on other pages with the solid colors as the background, but for this set of pages I "Mixed Me Up"!

Here are the full pages:


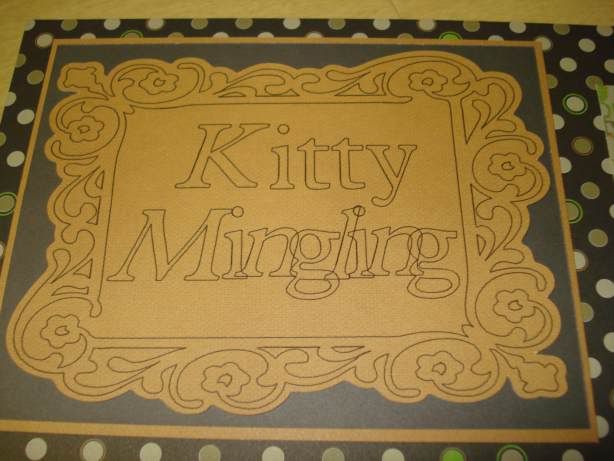
The pens that are meant to go with the Cricut die cut machine are really thick markers.  QuicKutz has pens for their Silhouette that are thin but also happen to fit in the Cricut blade mechanism.  I used the Gypsy (the handheld design tool for the Cricut) to create the title, overlapping the letters of "Mingling" to signify how our "families" are overlapping.  The text is from the Plantin Schoolbook cartridge, both regular and italic, and the frame is from Home Accents.  I drew the words and frame first then cut it out using the shadow shape of the frame:


I had tried to do a bigger shadow for layering behind, but with the little nubbins in the top left and lower right, it just didn't work.  That sparked an idea, and I used differently sized pieces for mats and frames, flipping them over to use the solid side, which also flipped where the nubbins were.

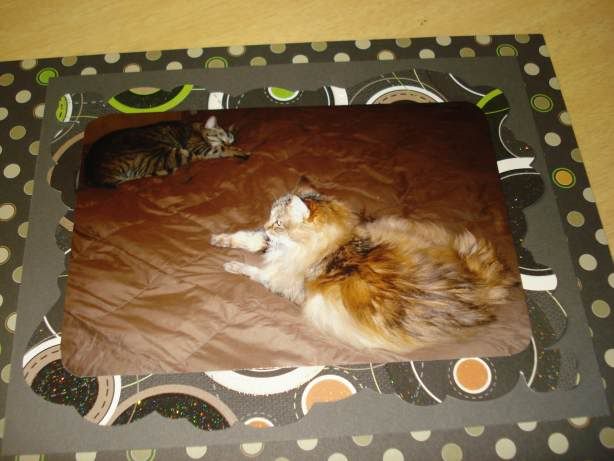
Here is Pixel and Katy with the shape used as a mat:


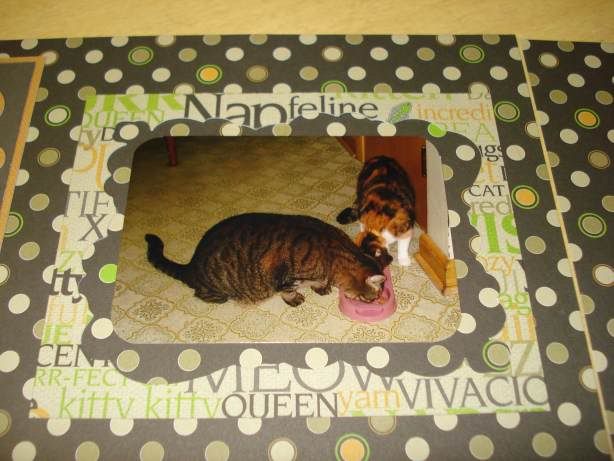
And here is Pixel and Fe sharing a meal in a frame:


I tried to have the patterns and solids evenly distributed across both pages, which was difficult because of what paper I had left.  I believe I made it work, however!

The tag in the upper left of the second page is also from Cloud9Design (this is how they getcha - embellishments to go with the papers!  I think I bought them all...), and it reads, "Cats have it all - admiration, an endless sleep, and company only when they want it."  That sums up this household!

Here's an update - we have had up to 3 cats sleeping with us at night, and there has still been no cross-cuddling.  It's early days, though!